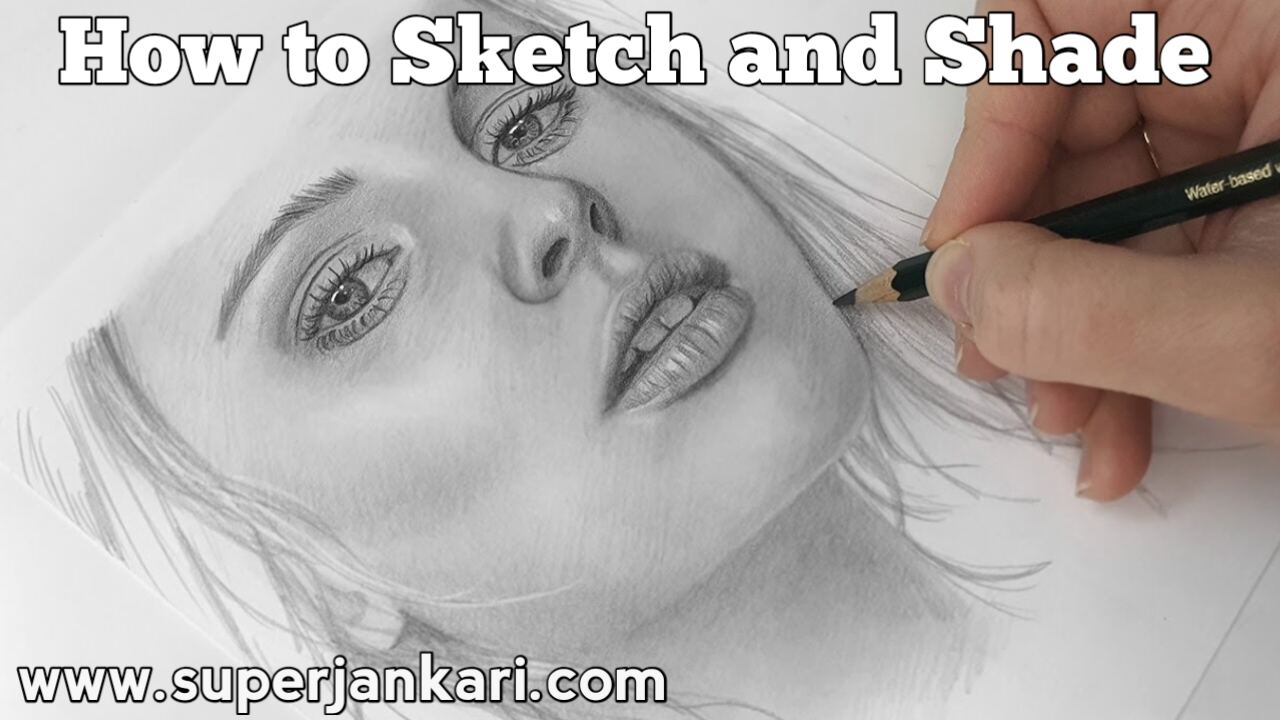
How to Sketch and Shade
In this video, I will explain how to create a good sketch and how to shade effectively. Many beginners struggle with the process; while they can manage the initial structure, they often face difficulties when it comes to shading—specifically regarding blending techniques, determining where to apply dark or light tones, and observing the subject accurately.
The goal is to replicate exactly what is seen in the reference image. The biggest challenge is often a lack of focus; beginners might look at a reference photo but fail to retain the details clearly when they start drawing. They struggle to mentally focus on the connection between what they observed and what they are actually creating.
They might look at their work and think, “Yes, it’s done; I’ve drawn it,” even when the result isn’t perfect. Therefore, the first step is to sharpen your focus so that you can accurately reproduce what you are observing.
Focus and Observation
The first step is always to observe the reference photo carefully. When looking at a subject, it is crucial to focus on it mentally.
You should try to recreate the subject in your drawing exactly as it appears in the reference. Train your mind and hand to accurately translate what you see into your drawing.
Starting the Sketch and Shading
Using pencils and shading techniques correctly is essential when sketching. The process begins with establishing the structure, followed by shading.
Avoid drawing the top line too heavily, and keep the bottom line light. Afterward, use a brush to blend the tones.
A white gel pen can be used to add highlights to the eyes. Charcoal and graphite pencils are used for darker areas.
A 2B pencil is used for the initial layer, while 6B and 8B pencils are used to achieve darker tones later. Shading Eyebrows and Hair
Charcoal is used for the eyebrows. Hair strands are created using hair-like strokes and then blended.
Holding the pencil further back—rather than close to the tip—facilitates better shading. When drawing hair, strokes should follow the natural direction of the hair growth. Soft charcoal is often used for this purpose. A Tombow eraser is used to add highlights to the hair.
Shading the Face and Nose
When shading the face, it is crucial to observe the areas of light and shadow. Similar shading techniques are applied around the nose.
4B and 8B pencils are used for this process. Careful observation is essential while shading.
Where to Shade Dark?
One of the most important aspects of drawing is knowing where to apply dark tones and where to keep areas light.
By carefully observing the reference image, the dark and light areas are rendered accordingly.
Shading the Ears and Mouth
Observing light and dark areas is also important when shading the ears. Similar shading techniques are applied when drawing the mouth and lips.
Shading and strokes on the lips should follow the contours and shape of the lips. The direction of the hair must also be considered. Charcoal, along with 2B and 3B pencils, is used for shading and blending, followed by a white pen for highlights.
Dot Work and Hyperrealistic Look
Dot work is employed to achieve a hyperrealistic look, using 6B and 8B pencils. This technique allows for the creation of fine details and the blending of shaded areas.
Shading the Neck
Observing light and dark areas is essential when shading the neck as well. Horizontal shading is also used here. Charcoal powder is applied with a brush for shading and blending, followed by the use of an eraser to add highlights.
Shading and Outlining the Shirt
The outline of the shirt is drawn using a pencil. Charcoal powder is used for dark areas. The powder is taken from the container and applied using a brush. Light and dark areas are created with 6B and 8B pencils, followed by blending.
Black Background
Charcoal sticks and charcoal powder are used to create a black background. The charcoal is spread and blended thoroughly using a brush. Afterward, highlights are added using a Tombow eraser and a white gel pen.
Highlights with White Gel Pen
A white gel pen is used to add highlights. It helps create highlights and design elements within the drawing. Logos and other fine details can also be drawn using a white gel pen.
Sketching Tools
Various tools are used for sketching, especially for beginners. These include charcoal, graphite pencils, brushes, Tombow erasers, and white gel pens. Details and links regarding these tools are provided in the description. They can be purchased from Amazon or local stationery stores.
Observation and Practice
Observation is the most crucial aspect of sketching. You need to observe the reference carefully and draw accordingly; this process requires both time and patience. It took three days to complete this sketch. By employing various techniques, you can create realistic artwork.
Conclusion
You have seen how to create the sketch, apply shading, and perform blending. Watch the video once or twice to grasp the concepts thoroughly and observe the working process. The video will help you identify mistakes you might have been making previously. This is the proper way to approach sketching and blending. You will learn a great deal from this video, and it will significantly improve your drawing skills.

I am the founder and content creator of SuperJankari.com, a technology-focused website dedicated to sharing useful information about smartphones, laptops, gadgets, apps, software, and the latest technology updates. My goal is to make technology easy to understand by providing clear, practical, and informative content for readers.